6 Irresistible RV Desserts
Discover 6 mouth-watering RV desserts perfect for the road. From s’mores to fruit parfaits, these treats will sweeten your adventures!
🍰 RV Desserts You Can Make on the Road!
Welcome to the sweetest corner of RV living! If there’s one thing that makes a day on the road absolutely perfect, it’s ending it with a delicious, homemade dessert.
A delightful treat can turn any evening into a memorable experience.
In this RV desserts blog post, we’ll share our favorite irresistible dessert recipes that are perfect for RV life.

Easy to prepare, fun to make, and oh-so-satisfying, these desserts will have you and your fellow travelers smiling from ear to ear.
So, grab your aprons and let’s dive into a world of sweet indulgence on wheels!
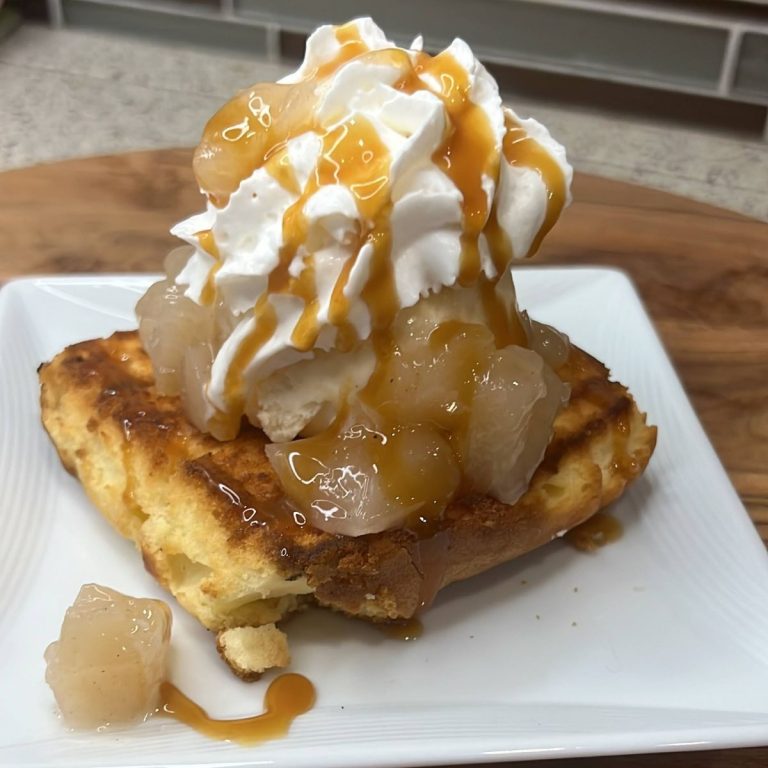
🍎 2 Ingredient Apple Pie Cups
Makes 8 cups
Prep time: 10 minutes
Cook time: 18 minutes

Ingredients:
- 1 can of refrigerated cinnamon rolls
- 1 21 oz can apple pie filling (coarsely chopped)
Instructions:
- Heat oven to 375°F. Prepare a muffin tin by greasing the muffin cups.
- Separate dough and press into and up sides of muffin cups. You should have 8 rolls to make 8 cups.
- Spoon about two generous tablespoons of apple pie filling into each cinnamon roll.
- Bake for 15-18 minutes until rolls are golden brown
- Remove from the oven and allow to cool for about 5 minutes then drizzle icing that came with the cinnamon rolls over the top.
- Enjoy!
🧁 Pink Lemonade Cupcakes RV Desserts
Makes 24 cupcakes
Prep time: 15 minutes
Cook time: 18 minutes

For the Cake:
- 1 box of white cake mix, prepared
- 1/4 cup pink lemonade powder
- 1 teaspoon lemon extract
For the Icing:
- 1/2 cup butter, softened
- 5 cups powdered sugar
- 2 tablespoons pink lemonade powder
- 3 to 4 tablespoons milk
Instructions:
- Preheat the oven to 350 degrees and line a muffin pan with cupcake liners.
- Prepare the cake mix according to the package instructions and add the pink lemonade and lemon extract. Beat to combine.
- Pour the mixture into the prepared muffin pan and bake according to the instructions on the box.
- Allow the cupcakes to cool completely, then prepare the icing. Beat together the butter, powdered sugar, pink lemonade, and 3 tablespoons milk. Add more milk to the icing, as needed, until the desired consistency is reached.
- Pipe the frosting on top of each cupcake and serve.
🍓 Berry Trifle in a Jar
Makes 8 servings
Prep time: 20 minutes

Ingredients:
- 1 angel food cake, cubed
- 1 pound strawberries, diced
- 1 pint blueberries
- 2 tablespoons sugar
- 8 ounces frozen whipped topping, thawed
- 8 half-pint jars
Instructions:
- Stir together the strawberries, blueberries and sugar until combined.
- Add a layer of angel food cake in the bottom each jar.
- Top with a layer of frozen whipped topping, then a layer of berries.
- Repeat the three layers again in each jar, ending with berries on top.
- Serve immediately or place a lid on the jars and chill until ready to serve.
🍑 Cake Mix Peach Cobbler
Makes 15 servings
Prep time: 10 minutes
Cook time: 60 minutes

Ingredients:
- 2 15 ounce cans sliced peaches in juice
- 1/4 cup brown sugar
- 2 tablespoons cornstarch mixed with 2 tablespoons water
- 1 teaspoon cinnamon
- 1 box yellow cake mix
- 1/2 cup butter, melted
Instructions:
- Preheat the oven to 350 degrees.
- Strain the juice from both cans of peaches into a bowl. Whisk the juice with the brown sugar, cornstarch mixture, and cinnamon. Set aside.
- In a separate bowl, stir together the cake mix and butter until the mixture begins to stick together.
- Spread the sliced peaches evenly in the bottom of a 9×13 baking dish. Cut the peaches into bite-sized pieces, if desired.
- Pour the peach juice mixture over the top of the peaches in the pan.
- Sprinkle the cake mix mixture over the top of the peaches and juice in an even layer.
- Bake 50 to 60 minutes, until the crust is golden brown and the filling is bubbly. Allow to rest for around 30 minutes before slicing and serving.
🍌 Banana Pie Cheesecakes
Experience a delightful fusion of flavors with our exquisite Mini Banana Pie Cheesecake recipe.
These irresistible treats combine the velvety smoothness of cheesecake with the comforting essence of homemade banana pie.
Each mini cheesecake boasts a buttery Nilla Wafer crust, a luscious cream cheese filling infused with banana pudding, and a heavenly layer of fresh whipped cream.
Indulge in the tantalizing blend of creamy sweetness and delicate banana undertones that will transport your taste buds to dessert paradise.
Difficulty: Easy
Prep time: 20 minutes
Bake time: 16 minutes
Chill time: 2 hours

Servings: 24 regular cupcake-size cheesecakes
FAQs:
- This recipe can also be used to make one 9 inch cheesecake. Using a springform pan, cover the bottom of the pan in two layers of foil and then place in a large roasting pan with approximately 2 inches of water to create a water bath. Bake for approximately 60 minutes or until the outside edges are set with a slight jiggle in the middle.
- If cheesecakes are overcooked, they will brown. If they are baked at too high of a temperature, they will crack. To ensure the cheesecake is done without these issues – do a jiggle test! The outside edges of the cheesecake(s) should be set with a slight jiggle in the middle when you GENTLY shimmy the baking dish. If no jiggle, they are overbaked and remove immediately. If too much of a jiggle, continue to bake and test occasionally until done.
- To crush the Nilla Wafers, place them in a large ziploc bag and use a rolling pin to crush them into small pieces. Or, a food processor works as well.
- You may add in chopped banana pieces if you want extra banana flavor!
Ingredients:
Crust
- 2 c. crushed Nilla Wafter crumbs
- ½ c. melted unsalted butter
Filling
- 16 oz softened cream cheese
- 1 c. sugar
- 4 eggs
- 2 T. lemon juice
- 3 T. flour
- 2 c. sour cream
- 1 – 5 oz package banana pudding mix
Topping
- 1 c heavy whipping cream
- ½ c powdered sugar
Directions:
- Preheat the oven to 325 degrees. Place cupcake liners in your pan.
- To make the crust – Crush the Nilla wafers into small pieces and crumbs. Some small chunks are okay – does not need to be finely ground. Mix until the butter is incorporated and the mixture has a wet appearance.
- Scoop out one heaping, loosely packed tablespoon worth of the crust mixture and place in the bottom of the cupcake lined baking pan.
- Using the back of the tablespoon or the flat bottom of a ¼ cup measuring cup, gently press down to pack the crust into the bottom of the pan. Repeat with the remaining crust mix. Set aside.
To make the cheesecake
- In the bowl of a stand mixer, combine the sugar and softened cream cheese – cream until smooth. Take your time with this step – if your cream cheese is not incorporated well enough or it was cold, there will be chunks in your cheesecakes. Make sure the mixture is creamed together well. Add in the eggs and mix until combined.
- Add in the flour, vanilla, sour cream, pudding mix and lemon juice. Combine well again – stop the machine and strape down the sides and mix again.
- Fill each cupcake liner until just under the rim of the top. Cheesecakes will not overflow when baked. They will puff up slightly during the bake time, but then settle again once cooled. Bake in preheated oven for approximately 14-16 minutes.
- Before removing from the oven, preform a “jiggle test” – gently wiggle the pan and the centers of the cheesecakes should move slightly while the edges remain in place. The cheesecakes will completely solidify once cooled but overbaking until it is completely set makes for a dry and crumbly cheesecake.
- Remove from the oven and allow to cool to room temperature. Then place in the fridge for an additional 2 hours to completely set. Do not remove the liners from the pan before they have cooled and solidified, otherwise you will have a messy, broken cheesecake.
- Once the cheesecakes have cooled, they can be served.
Topping
- Just prior to serving, finish the topping. Place the heavy cream and powdered sugar in the bowl of a stand mixer and beat on high until stiff peaks. Transfer to a pastry bag fitted with a large star tip. Pipe a small dollop on each cheesecake.
- Sprinkle with additional Nilla wafer crumbs and a chopped wafer piece. Enjoy!
- Storage: Cheesecakes can remain stored in an airtight container in the refrigerator for 3 days or frozen for up to 3 months.
🍫 Copycat Costco Caramel S’mores Clusters RV Desserts
Prep time 10 minutes
Chill time 1 hour 30 minutes
Yields 12

Ingredients:
- 1 1/2 cups of graham cereal
- 3/4 cups of mini marshmallows
- 3/4 cup of caramel dip
- 6 oz of dark chocolate almond bark
Instructions:
- Lightly spray a muffin tin with oil.
- Divide the graham cereal into 12 equal portions and place each portion in a muffin spot.
- Add about 3-4 marshmallows on top of each portion of graham cereal.
- Warm the caramel dip slightly until it becomes easier to stir, but still maintains a thick consistency.
- Spoon 1 tablespoon of caramel onto each serving of graham cereal and marshmallows, using the caramel as an adhesive to hold them together. Repeat for all servings.
- Place the muffin tin in the freezer for approximately an hour, or until the caramel has thickened and set.
- In a microwave-safe bowl, melt the dark chocolate according to the package instructions.
- Once the chocolate is melted, pour over each s’mores cluster covering most of the top and place it aside to allow the chocolate to set.
- Allow the chocolate to fully set before serving.
- Enjoy the delicious homemade s’mores clusters!
💙 More Recipes You May Like

🎬 RV Desserts Final Thoughts
And there you have it, fellow dessert enthusiasts! From gooey s’mores to refreshing fruit parfaits, these irresistible RV dessert recipes are sure to make your adventures even more delightful.
Remember, the beauty of RV living is all about savoring those simple pleasures and creating unforgettable moments with your loved ones.
So next time you’re out exploring, don’t forget to treat yourself to a little sweetness.
After all, life is better when it’s sprinkled with dessert magic! Happy travels and happy munching!
📌 Follow us on Pinterest and PIN any of these RV Desserts for later!